Happy Friday everyone,
You can create some easy Christmas Home Decor this holiday season with Sizzix.
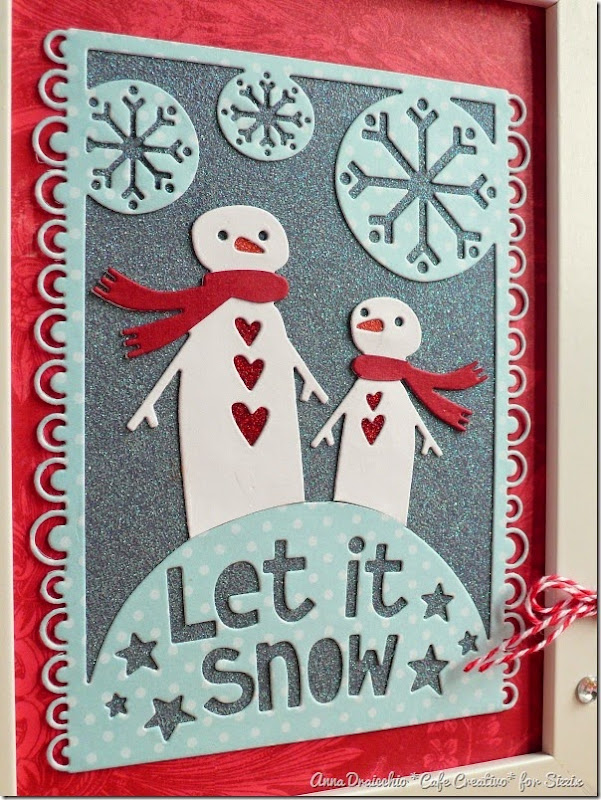
Always on the lookout for fun, homemade gift ideas, I made this home decor using a simple frame and Sizzix Thinlits Die - Let it Snow by Debi Potter.
To Make:
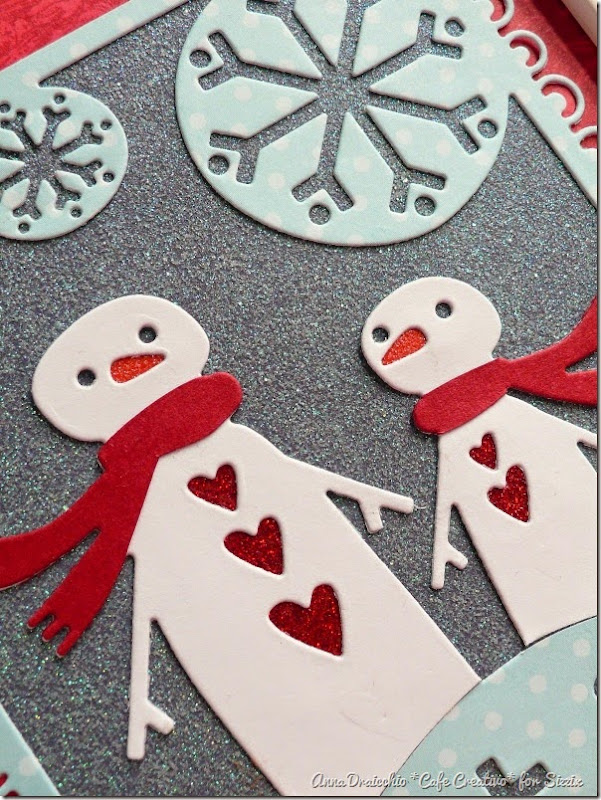
Die-cut the snowman motif from blue polka dots paper. Die cut the snowmen from white cardstock. Apply a stripe red glitter cardstock behind small hearts, a stripe orange behind noses.
Die cut the scarves from red cardstock, trim to size and apply to the snowmen.
Cut a rectangle of glitter cardstock to fit across the snowman motif. Glue the snowmen and other composition. Then adhere onto a rectangle of red patterned paper. Insert in the frame.
Add a few rhinestones, buttons and snowflake.
Well, I hope you enjoyed it!
Thanks for stopping by and have a wonderful weekend!
Hugs
Items used:
frame
white and red cardstock
patterned paper (Magenta – Malie, Pebbles - Basics Collection - Powder Mini Dot)
glitter paper (DCWV - The Christmas & Winter Combo Glitter Cardstock Matstack)
bakery twine red and white
rhinestones
buttons
Buon venerdì a tutti,
Con Sizzix è possibile creare facilmente decorazioni ed home decor adatti a questa stagione natalizia.
Così, sempre alla ricerca di cose allegre, d'idee regalo handmade, ho realizzato questo home decor utilizzando una semplice cornice e la bella fustella Sizzix Thinlits Die - Let it Snow by Debi Potter.
Vi spiego come fare:
Fustellare il motivo dei pupazzi di neve da carta celeste a pois e cartoncino bianco. Ritagliare a misura i pupazzi di neve bianchi. Applicare una piccola striscia di cartoncino rosso glitter dietro ai cuoricini, cartoncino arancione per i nasi.
Con la stessa fustella, tagliare le sciarpe dal cartoncino rosso, tagliare con le forbici a misura e applicare sui pupazzi di neve.
Tagliate un rettangolo di cartoncino glitter della misura del motivo coi pupazzi di neve da usare come base della composizione, incollare. Quindi incollare il tutto su di un rettangolo di carta fantasia rossa. Inserire infine nella cornice.
Abbellire la cornice con qualche strass, bottoni e fiocco di neve. Ecco fatto!
Bene, spero che il progetto di oggi vi sia piaciuto!
Grazie per la visita, buon weekend!
Baci
Materiali:
cornice
cartoncino bianco e rosso
carta scrapbooking (Magenta – Malie, Pebbles - Basics Collection - Powder Mini Dot)
cartoncini glitter (DCWV - The Christmas & Winter Combo Glitter Cardstock Matstack)
spago bianco e rosso
strass
bottoni


ma che bello questo quadretto!
ReplyDeletegrazie Marta! :)
Delete